Making your own lip balm is not only a fun and creative activity but also a practical approach to ensuring that you’re applying safe, natural ingredients to your lips. Homemade lip balms allow for complete customization in terms of scent, flavor, and moisturizing properties, offering a perfect blend of personalization and effectiveness.
Essential Ingredients for Lip Balm
The base of most homemade lip balms includes beeswax, carrier oils, and butter. Beeswax provides a protective layer that helps seal in moisture, while carrier oils such as coconut oil, almond oil, or jojoba oil offer essential fatty acids that nourish and hydrate the lips. Butters like shea butter or cocoa butter add a creamy texture and additional moisturizing benefits.
Choosing the Right Oils and Butters
Selecting high-quality oils and butters is crucial for creating an effective lip balm. Organic and unrefined versions are often preferred for their minimal processing and higher nutrient content. Each oil and butter brings its own unique benefits, so choosing based on your skin type and desired outcome (such as extra moisturizing properties or a lighter feel) is key.
Incorporating Flavors and Scents
Adding flavors and scents can transform your lip balm into a delightful sensory experience. Essential oils and natural flavor oils designed for lip balm use are ideal for adding these elements. Popular choices include peppermint for a refreshing tingle, vanilla for a sweet scent, or citrus oils for a fruity touch. It’s important to ensure that any essential oils are safe for lip use and properly diluted.
The Role of Natural Additives
For those looking to enhance the health benefits of their lip balm, incorporating natural additives like vitamin E oil can be beneficial. Vitamin E not only nourishes the skin but also acts as a natural preservative. Other additives, such as honey for extra hydration or tinted micas for a hint of color, can also be included to meet specific skincare needs.
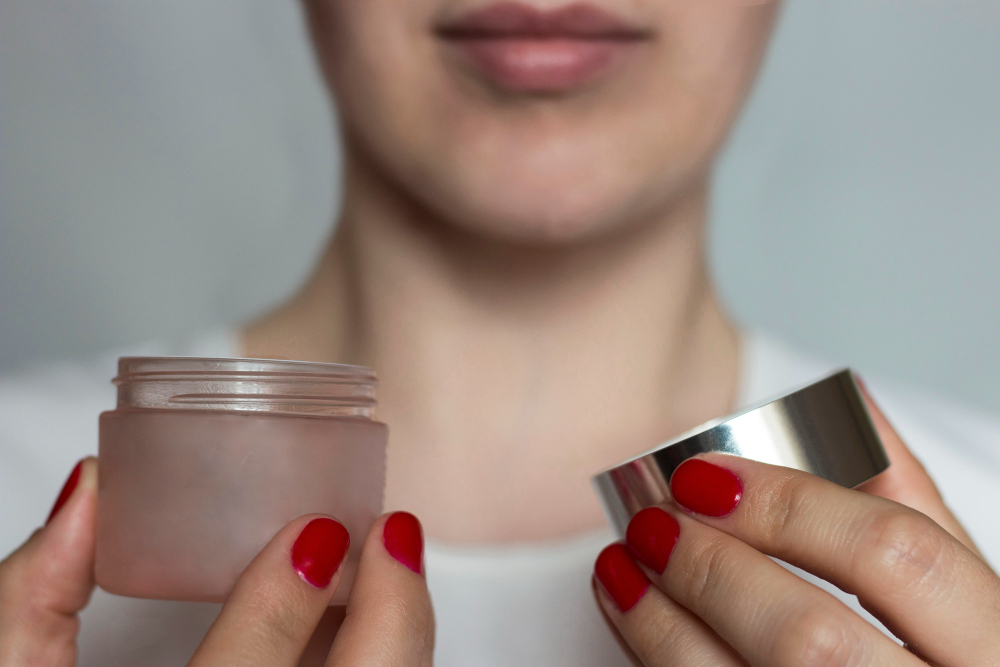
The Process of Making Lip Balm
Creating lip balm involves melting the beeswax, oils, and butters together in a double boiler. Once fully melted and combined, remove from heat and quickly add any flavor oils, essential oils, or colorants. Pour the mixture into lip balm tubes or small jars before it begins to set. Allow the balms to cool completely before capping them, ensuring they harden evenly and smoothly.
Packaging and Storing Homemade Lip Balm
Choosing the right packaging, such as small tins, tubes, or plastic pots, can affect both the usability and longevity of the lip balm. Labeling your creations with the ingredients and date made can help keep track of different batches, especially if you’re gifting them or planning to sell them. Proper storage in a cool, dry place helps preserve the balm’s quality and extends its shelf life.
Lip Balm Making Tips from Lipstiko.com
For beginners and enthusiasts alike, https://lipstiko.com/ offers valuable tips and product recommendations to enhance the lip balm making experience. From selecting the best natural ingredients to creative ideas for flavors and colors, Lipstiko.com is a resource for anyone looking to dive deeper into DIY lip care. The site also reviews ready-made balms and discusses the benefits of various ingredients, providing a comprehensive guide to both homemade and commercial lip care.
Enjoying Your DIY Lip Balm
Making your own lip balm is not only an enjoyable DIY project but also an opportunity to take control of what you apply to your body. By selecting your own natural ingredients and customizing the balm to suit your preferences, you create a product that is both personal and effective. With the help of resources like Lipstiko.com, you can refine your recipes and explore new variations, making each batch better than the last. Whether you’re crafting balms for personal use or as thoughtful gifts, the process of making lip balm is as rewarding as it is fun.